
Bow hunting for beginners is best viewed through the eyes of seasoned hunters. I’ve been bow hunting since I was first able to pull back a “real” hunting bow. In the past couple of decades, I’ve chased whitetail with a bow throughout the state of Alabama, from the hills of the Tennessee Valley area all the way down to the palmetto flats of the Mobile-Tensaw Delta. I estimate I’ve killed about 60 deer in my life, and most of them have been killed with archery equipment.
The early seasons consisted mostly of me making every mistake you could possibly make as a bowhunter. Setting up in the wrong place, buying the wrong equipment, drawing the bow at the wrong time, missing deer, not recovering deer…if I could do it wrong, I did.
This article is a celebration of those mistakes. I say “celebration” because mistakes are how you get better. My mistakes eventually made me a better hunter. But, it’s been said that a smart man learns from his own mistakes while a wise man learns from those of others. In this bow hunting for beginners article, we’re going to talk about some common mistakes new hunters make so that you don’t make them yourself this season.
Beginner Bow Selection
A mistake I think a lot of new hunters make is choosing the wrong gear. Specifically, I have watched a lot of beginner bow hunters make the mistake of buying a bow and kitting it out to shoot tighter groups at longer distances in their backyard. I spent a lot of time and money buying faster bows, multi-pin sites, and lighter arrows in an attempt to shoot a flatter trajectory and achieve smaller groups at 40 and 50 yards.
As I shot at deer, I noticed something. I didn’t hit very many at 40 yards and out. Despite being a crack shot in my backyard, I missed about half of the deer I shot at that range. I began to get a sneaking suspicion that I was going about something the wrong way, and happily stumbled across an article on shot distances by the legendary Chuck Adams. In it, Chuck pointed out that the average distance a P&Y buck was killed at was only 19 yards, with less than 5% of entries being reported as being killed beyond 40. That really stood out to me and made me change the way I hunted.
I made it my goal to never shoot at a deer past 30 yards, and to ideally try and shoot them at 20 yards. At first, I wasn’t convinced I’d have much luck getting deer within that range. But the weirdest thing happened. When I stopped trying to shoot them at 40 yards and gave them a few extra minutes, most of the time they walked right up to me! Not all of them, of course, but enough to keep me encouraged. And the ones that did get that close were very easy to hit.
As I grew more successful and more confident at letting deer get closer, I started changing the way I looked at bow accessories. This is an important bow hunting for beginners tip.
Ready To Hunt Bow Options
Bear Archery Cruzer G3
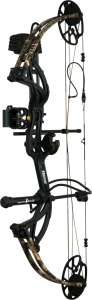
Features
- Maximum-versatility bow is engineered for all ages and skill levels
- Ready to hunt bow comes equipped with six Trophy Ridge accessories
- Adjustable from 12″ to 30″ draw length range and from 5 to 70 lbs. peak draw weight
- All adjustments are made using an Allen wrench with no need for a bow press
- Weighs only 3 lbs. and fires arrows at 315 feet per second
PSE Stinger Max Rts Package

Features
- Compact compound bow with great performance and great adjustability
- All new SS single cam system
- Smoother draw
- 80% let-off
- Shorter limbs – 30″ axle-to-axle, great for hunting from the stand or blind
- Rotating module draw length adjustment
Arrows
Since I wasn’t as concerned about long-range trajectory, I started buying heavier arrows. This was a bit before words like “FOC,” “momentum,” “weight-forward,” “Ashby Study,” and “brass insert” were common vernacular in the bowhunting circle. At the time most manufacturers and influencers were touting, “Speed kills!” The trend was light arrows, and since they were trendy they were more expensive. I ended up buying cheaper arrows, which just so happened to be heavier.
When I did I noticed some immediate benefits. First, my bow shot quieter. Many accessories sold to silence bows such as string leeches, string chubs, stabilizers, and limbsaver pads work by adding mass to the bow. A heavier arrow’s extra mass does that too, and it doesn’t require you to serve anything into your string or stick something to your bow.
My arrows also hit harder. While I never really had problems killing deer, I started noticing more arrows sticking into the dirt on the other side of a deer instead of falling out as they ran off. We could devote an entire article to talking about the physics of raising arrow weight and how it impacts velocity, momentum, kinetic energy, and other metrics, but suffice it to say that for many hunters a little extra weight on their arrow will aid in penetration.
Arrow Rest
As I got more and more deer at 20 yards, I learned something that may sound obvious to even new hunters. Deer hear well. Like, really well. Well enough that the noise of an arrow scraping across a rest when you draw back will oftentimes cause them to look straight at you.
My old Whisker Biscuit was particularly bad about this until I learned to silence it with a bit of moleskin. Later on I started shooting a QAD Ultra Rest, which did an excellent job containing an arrow so that it didn’t flop around and make noise. Nowadays, most rests are full-capture style rests and they’re usually very quiet, but it never hurts to draw your bow back on a quiet, cold morning and judge for yourself if you think you can quiet it down further.
Release Aid
I’ve shot a Scott’s wrist strap style release for as long as I can remember, and I’ve never had an issue with it…provided I actually brought it with me! I’m embarrassed to say how many times I made it to my stand and realized my release was sitting on my truck seat, in my bow case, or in a jacket pocket in my closet. Eventually, I learned a hard lesson. If my release isn’t strapped to my wrist, it’s strapped to my bow! And a spare lives all the way in the bottom of my hunting pack, just in case.
Bow Sight
After missing a few deer by using the wrong pin for that yardage in the heat of the moment, or accidentally bumping my slider-style single pin site, I bought a pendulum site. I first heard about pendulum sites after reading Dr. Robert Shepard’s “Whitetails: An Unprecedented Research-Driven Hunting Model.” Without wasting too many words, they essentially automatically adjust the position of the pin to different yardages based on the angle of your bow. They’re quite handy for hunters who climb to a more-or-less consistent height every time that they hunt, since they remove most of the need to estimate yardage.
Over time, I switched to an HHA Brushfire, which was a fixed, single-pin design. I did this because I started hunting at varying heights based on what fit a specific scenario best. Sometimes that would involve being 30ft up, and sometimes it involved sitting on a stool!
Another word of bow hunting for beginners advice, get your bow dialed in and then scratch witness marks into every moving component and apply Loctite to the screws! That way you’re unlikely to bump something out of adjustment, and if you do, you’ll be able to spot the problem at a glance and quickly correct it.
Fundamentals Of Archery
An inconvenient truth about bow hunting is that the form we work so hard on during the summer usually goes out the window once we’re bundled up in winter clothing, balanced on a tiny stand, and trying to shoot at a deer that obviously didn’t read the stage instructions dictating where he was supposed to enter from!
With that said, the goal is to control what you can control, and not worry about the rest. With that said, it’s worth going over some of the basic fundamentals of archery and seeing what those fundamentals look like up in the tree.
Proper Stance
You’re not getting a clean, perfect, stance in a tree stand (much less a tree saddle.) Your feet are not going to be shoulder width apart, in line with your hips and 90 degrees to the target. But if you know that’s the ideal, you can get closer to it in the field. The most important part of stance is to be well-balanced and to point your shoulder and (ideally) your hip at your target. This allows for ideal body mechanics to draw and hold a bow in a relaxed manner. With that in mind, twist as far down your body as you can when aligning yourself with the target. It’s best to shuffle your feet if possible, next best to twist at the waist and align your shoulders, and worst to twist your upper back.
This idea of bending at the waist is particularly important to keep in mind when shooting at a deer that is below you. Dropping your arm and not bending at the waist is a common rookie mistake that will make you inexplicably shoot high.
Grip
In the 5 or so years I spent shooting with customers in a range, a bad grip was perhaps the most common mistake I saw. Do this. Take your bow and draw it back. Put the pin on a target. Now, tighten your grip. Loosen it. Shift the pressure of the bow pushing into your hand from side to side, first towards your knuckles and then towards the base of your thumb. Just don’t go too crazy, or you risk pulling the string off of your cams!
It surprises some people just how much a tiny movement of your hand can change where your pins are. This is why it’s important to make sure you have a good, neutral grip on the bow. Have a buddy stand behind you and look at how the string comes off of the cam. Usually, a good grip means that the string should line up with the cam. If yours doesn’t, consider consulting with a tech or coach to help you find a good grip.
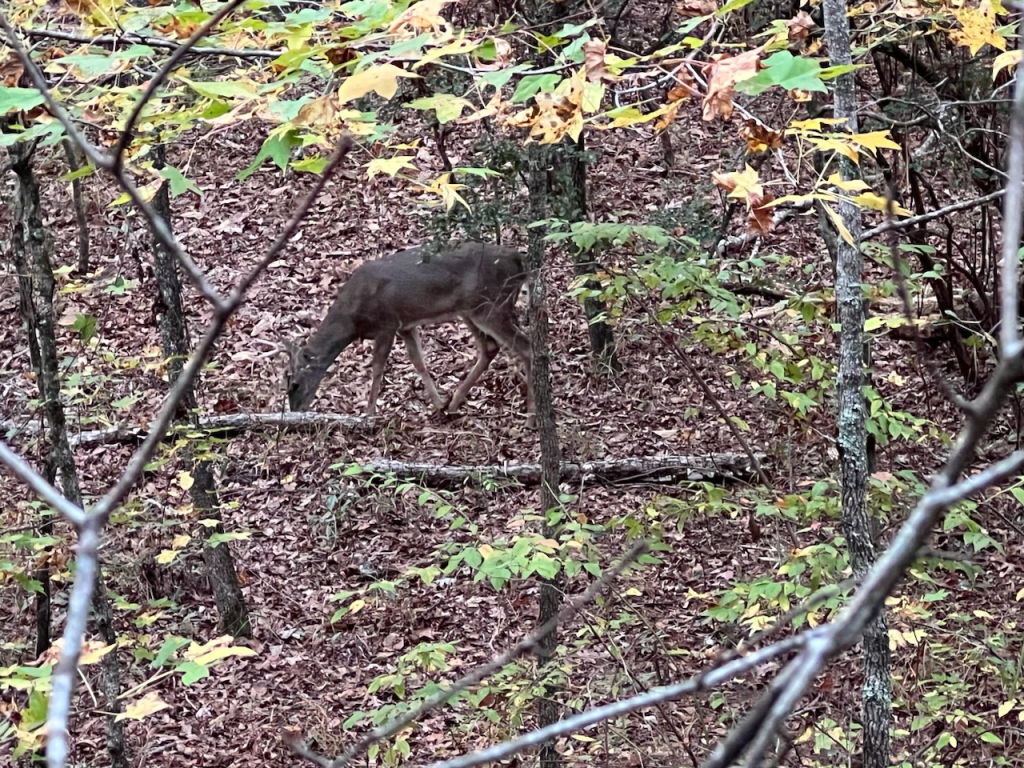
The Draw
If you haven’t run a deer off by drawing at the wrong time and getting busted, don’t worry, your time’s coming. The safest time to draw is when the deer can’t see you. A trick I’ve learned is that if you can see a deer’s eyes, it can see you. So wait until their eyes are behind a tree trunk or a cluster of leaves if possible.
Of course, sometimes we have to make do with less than ideal circumstances. If that’s not possible, do the following. First, slowly get your bow into position and pointed at the deer. Clip into your d-loop. In one slow, fluid motion, extend your bow arm, and pull the string straight back while keeping your elbow tucked close to your body. The idea is a smooth, slow draw that is mostly hidden by the bow you’re holding in front of you.
Anchor Point
A good anchor point does two things. For starters, it helps to make sure that you’re drawing your bow back to a consistent point every time and therefore loading a consistent amount of energy into the limbs. This keeps your arrow trajectory consistent from shot to shot. But your anchor point also serves like the rear sight on an iron sighted rifle. If I move the rear sight on your rifle while you’re not looking, you’re going to shoot way off target. In the same way, if you don’t have a consistent anchor point, your arrows will fly here, there, and everywhere but where you want them to.
It’s important to develop a good anchor point while practicing, and it’s important to keep that anchor point when hunting. Little things like heavy gloves and face masks can cause you to change your anchor point without realizing it. If you know you’ll use these during deer season, take a few shots with them on while practicing to see if they change your anchor point.
Aim And Release
When aiming at a deer, you will notice that the pin drifts a bit in all directions. Target panic starts as a result of a little voice in your head shouting “Release, NOW!” as that pin drifts over your target. Ignore that guy. He’s high-strung and sucks at killing deer.

Instead, make peace with that drift. A deer’s vitals are pretty big, and anywhere that your pin floats to is probably fine. Just focus on your release. Float the pin, maintain back tension, and slowly squeeze the trigger of your release.
Follow-Through
Once they pull the release trigger, many archers “clock out.” But your job isn’t done yet. Arrows move relatively slowly, and as a result a breakdown in form can lead to you inadvertently pushing your shot off target. The most common manifestation of this problem is shooting low as you drop your bow arm while the arrow is still leaving the bow.
Maintain focus throughout the release to prevent this. Imagine guiding the arrow to your target with your pin, if that helps.
Bow Hunting Accuracy Standards
A hard lesson to learn is that proficiency on a target range doesn’t always equate proficiency in the deer woods. Target shooting involves small, stationary targets; stable conditions, and known ranges. Hunting involves relatively large but frequently moving targets; dynamic conditions, and (most of the time) unknown ranges. Another big difference is that on the range, you can shoot arrow after arrow. In the woods, you usually only get one chance.
Practice How You’ll Hunt
With that in mind, you’ll want to practice how you hunt. Flinging dozens if not hundreds of arrows in your backyard may be fun, but it’s not realistic practice. If you can, shoot from your treestand, from an elevated porch, or even from the top of your roof! Practice in the clothes (and safety harness) that you’ll be wearing. Shoot a few rounds with your broadheads. And practice the “cold shot.” Walk outside, take one shot, and ask yourself, “If that was a deer, would it be dead?” Doing this repeatedly will lead to increased confidence when Mr. Big is head-down eating acorns under you this fall.

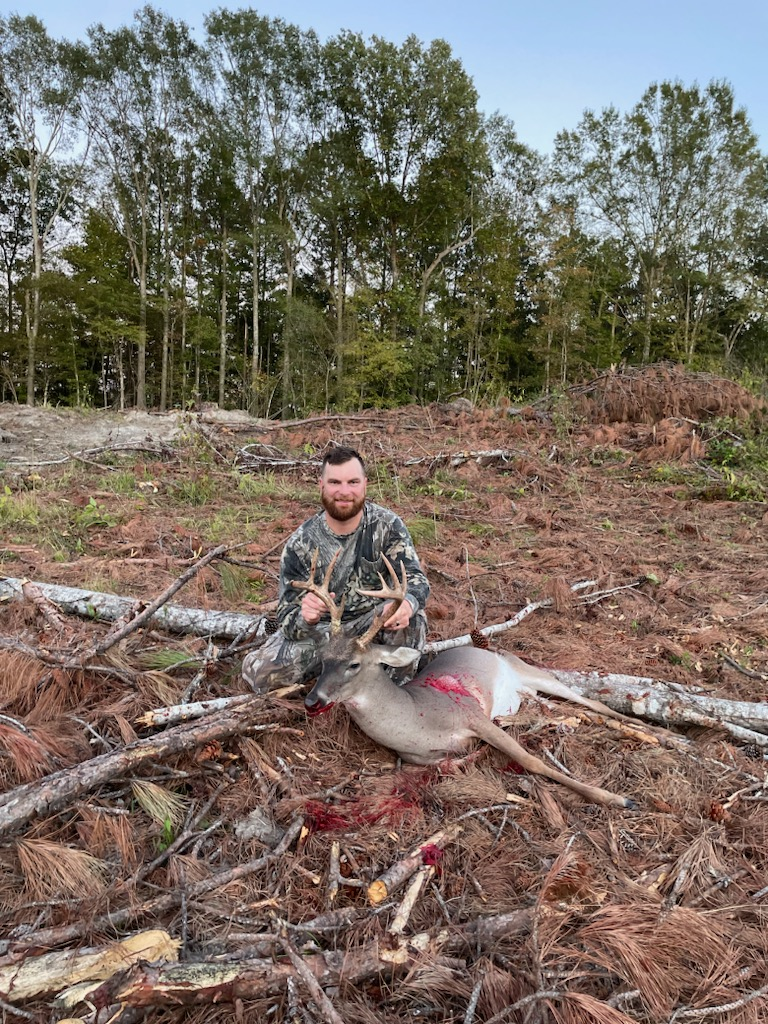
Understand Animal Anatomy
The goal of a broadhead is to cut a deer badly enough that they die of oxygen deprivation to the brain. That sounds simple, and with the right shot, it is. As a general rule, any arrow that enters and exits a deer’s ribcage forward of the diaphragm will kill that deer. Too far back, and you risk gut shooting the animal. While a gut-shot deer is surprisingly recoverable (especially if you can employ the services of a tracking dog) it’s not ideal. Too far forward, and you run the risk of the arrow not making it through the shoulder and leg bones. Too high, you clip the spine, or worse, the backstraps. Too low, you clip the brisket.
When discussing bow hunting for beginners, every experienced hunter has their thoughts on shot placement. A common theme you’ll hear is to aim farther forward and lower than you think you should. The advice to shoot “behind the shoulder” is really more like “center punch the shoulder.” This is because the deer’s shoulder and leg bone are much more forward on the animal than most hunters intuit. As far as aiming a bit lower, deer don’t “jump” a string so much as they duck it. A low shot is usually lethal, and a deer that ducks has less of a chance of avoiding a low shot.
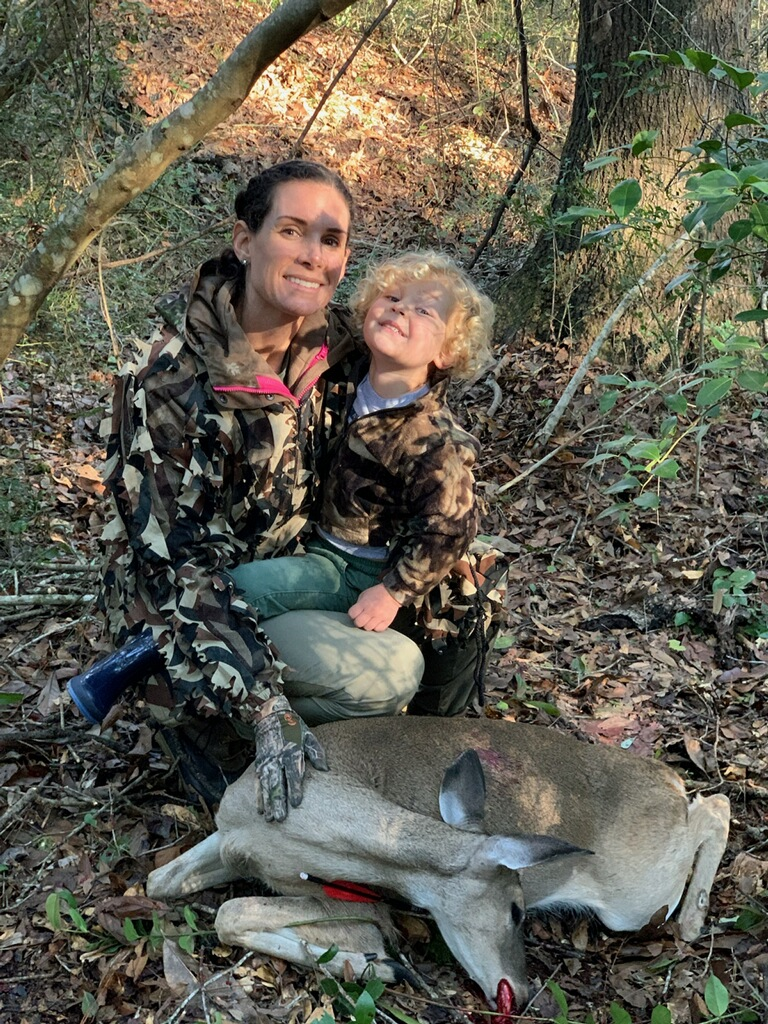
Animal Recovery
It sounds funny, but as a novice hunter I was often completely unprepared for the fresh carcasse I had created! I’m not alone in this, because I’ve assisted several hunters with their first kill and many of them didn’t have any gloves, wet wipes, ziploc bags, or even a sharp knife in their pack! It’s easy to forget if you don’t shoot deer a high percentage of the time that you go out that the end goal of all of that hard hunting is a dead deer.
Be ready for your first kill when it comes. Put together a “kill kit” with all of the above-mentioned items, plus a roll of toilet paper. Toilet paper is wonderful for helping you keep track of a blood trail since it’s easy to see and biodegradable.
Bow Hunting Stand Placement
One of the hardest things for beginner bow hunters to grasp is that stand placement for bow hunting is drastically different from setting a stand for rifle season. For firearms hunters, the perfect stand is one where you can see a long way in a good location without being too close to the action. A rifleman can take advantage of his weapon’s range to back 100 yards off of a scrape line or hot oak tree to make it less likely that he’s detected.
With a bow, you have to be right up in the action. Instead of trying to cover a whole food plot, for instance, you’ll want to hang your stand on what you know to be the most-traveled trail in and out of it. On an oak flat, instead of hanging your stand to cover the whole flat, you’ll need to pick the hottest tree and hang your stand right next to it. You’ll get busted by deer in the beginning as a result of this aggressive strategy, but the alternative is watching deer move past you out of range.
Final Thoughts On Bow Hunting For Beginners
Bow hunting is a sport that requires patience, dedication, and a deep respect for the natural world. By understanding bow selection, mastering the fundamentals of archery, acquiring the necessary hunting accessories, and striving for accuracy and ethical hunting standards, bow hunting for beginners can be rewarding journey. When you start think about bow hunting for beginners, remember to always prioritize safety, continuously improve your skills, and appreciate the beauty and challenge that bow hunting offers.
As you venture into the realm of bow hunting, may your experiences be filled with excitement, personal growth, and a profound connection to the great outdoors. Happy hunting!
