
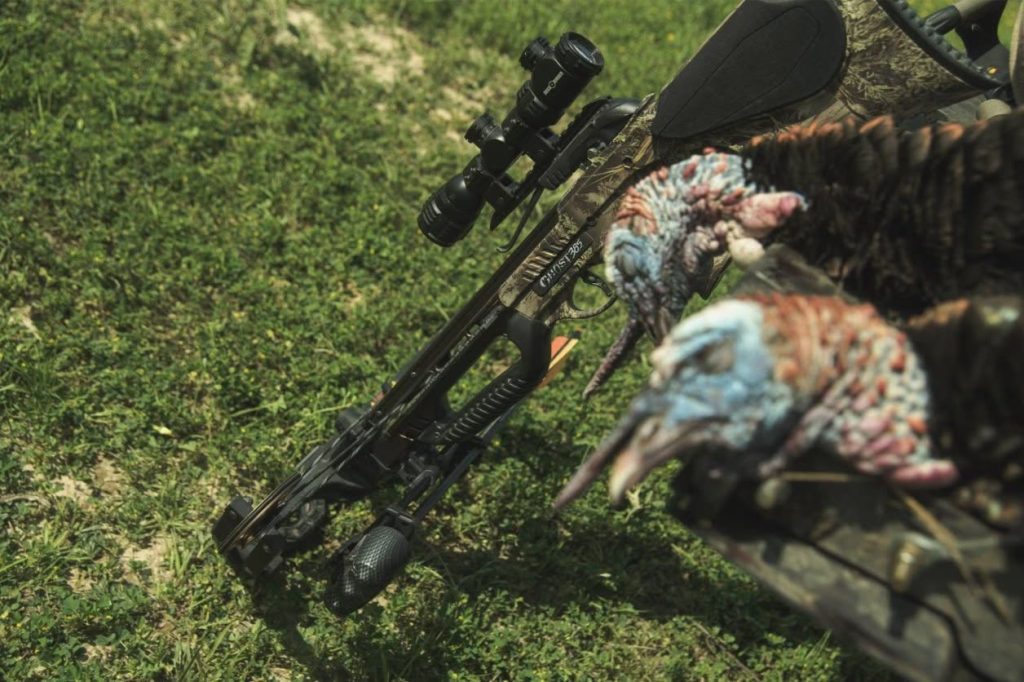
Modern crossbows have gotten incredibly user-friendly. Most of today’s models arrive almost completely assembled, with brands like Barnett offering designs that are essentially ready to shoot once a scope and quiver are installed. Still, learning how to set up a crossbow properly is important. Modern crossbows are drastically more powerful than the bows many hunters grew up using, which makes proper setup more important, not less.
Before you start turning screws or firing bolts downrange, read the owner’s manual. That sounds obvious, but it is probably the most commonly skipped part of setting up a new crossbow. Having spent years working in an archery and hunting department, I assembled thousands of bows during that time. While most crossbows go together in roughly the same fashion, there are enough nuances between manufacturers and models that I still read the manual whenever I encounter something new.
You need to understand more than which bolt goes where. Learn how the safety and anti-dry-fire system work, how the bow is supposed to be cocked and loaded, which bolts and nocks the manufacturer specifies, what components are considered wear items, and what the recommended service life is for strings and cables. If the manufacturer specifies a particular torque for certain fasteners, have the correct torque driver available before you begin.
If something in the manual does not make sense, ask. A knowledgeable archery shop can usually help, or you can contact the crossbow manufacturer directly.
Inspect Everything Before Assembly
A new crossbow may only require installing the stirrup, quiver, and scope. Some models require the limb and riser assembly to be attached to the stock, which is usually a straightforward process involving a bolt, washers, or locking hardware. Many higher-performance bows now arrive almost completely assembled. Even so, understanding how to set up a crossbow correctly starts with knowing exactly what your particular model requires.
Whatever the design, resist the temptation to grab a power driver and start tightening things. Crossbow hardware should generally be installed using hand tools, strictly following any torque specifications provided by the manufacturer. If none are specified, tighten the hardware until it is firmly snug without going overboard. In my experience, people are much more likely to overtighten crossbow hardware than leave it dangerously loose, leading to stripped screw heads, damaged threads, and cross-threaded fasteners.
Before assembling anything, inspect the crossbow as well, which is especially vital with a used bow. Look closely at the string and cables for fraying, dryness, worn serving, or other obvious deterioration, while checking the limbs for cracks, warping, or twisting. You should also inspect metal components for corrosion, paying particular attention to the limb tips and the areas where axle pins and cams attach.
A used crossbow also deserves a cautious function check. Do not simply assume the trigger, safety, and anti-dry-fire mechanisms are working because the previous owner said they were. Test the bow in a safe range environment where you have a proper target and know exactly what is downrange.
Mount the Scope to Fit You
While most crossbows are essentially “ready-to-shoot,” with some manufacturers even going so far as to install scopes and bore-sight them from the factory, it is still on the user to make sure that the scope is correctly set up for their individual eye relief, and sighted in at their hunting distances using their bolts and broadheads.
A crossbow scope needs to be level, secure, and positioned specifically for the shooter who will actually use it. Bubble-level scope mounting kits are inexpensive and make this job much easier: simply level the crossbow securely on a bench, then level the optic before tightening the rings according to the manufacturer’s recommendations.
Eye relief depends on your own judgment, not a specialized tool. When mounting a scope on a crossbow or rifle, shoulder the weapon naturally with your eyes closed. Open your eyes once you have comfortably shouldered the crossbow, and then move the scope forward or backwards until you can see through it clearly. A second pair of hands can make this procedure somewhat easier. If you normally hunt in a heavy jacket, it is a great idea to wear it while doing this, as bulky clothing can noticeably alter how the crossbow shoulders.

When learning how to set up a crossbow, scope mounting is one area where simple, careful work usually beats overcomplicating things. I generally do not use thread locker on scope rings or mounts. Clean, degreased threads and properly tightened hardware have served me well. Blue removable thread locker can be appropriate if you choose to use it, but avoid anything intended to create a permanent bond.
Scope quality matters more to me than extra features. If you are shopping on a limited budget, I would rather have a good fixed-reticle scope with decent glass than a cheap optic loaded with illumination and speed-compensation features.
Illuminated reticles can be useful, but pay attention to how dim the illumination can go. Bright illumination may look impressive inside a store during the daytime, but that is not where you are likely to need it. At dawn or dusk, an overly bright reticle can wash out the target behind it.
The same general caution applies to speed-compensating and range-compensating scopes. They can work very well, but they still need to be verified on your crossbow. Do not zero at 20 yards and simply assume the 50- or 60-yard aiming point will be perfect.
Use the Bolt the Manufacturer Specifies
Choosing the correct bolts and nocks is another important part of learning how to set up a crossbow properly. Crossbows are not a place to experiment casually with these components. Always use the bolt length, weight, and nock style specified by the manufacturer. Nock type is particularly crucial because the string must engage the back of the bolt correctly; with the wrong nock, the string may fail to transfer its energy properly into the bolt, resulting in a dry fire that can severely damage the strings, cables, limbs, and other components.
Bolt weight matters for the same reason. Although a lighter bolt produces higher velocity and a flatter trajectory, making it tempting to go lighter than recommended, the bolt must absorb a tremendous amount of energy from the bow. If there isn’t enough mass to absorb that energy, the remaining force stays in the crossbow itself, accelerating wear or potentially causing catastrophic component failure. Save yourself the trouble and follow the manufacturer’s specifications instead of chasing a few extra feet per second.
The same rule applies to lubrication. Most crossbows require some combination of rail lubricant and string or cable maintenance, although newer railless designs can have different requirements. Use the lubricants specified in the manual and apply them where instructed. Manufacturers generally do not want owners spraying lubricant into triggers, safeties, or anti-dry-fire mechanisms unless specifically directed to do so, but again, defer to your manual.
Inspect the string and cables before every hunt or shooting session. Modern high-speed bows put a tremendous amount of stress on those components. Also inspect any surface the string contacts, including the rail and the portion of the trigger mechanism that retains the string. A small burr or damaged surface can quickly begin eating through serving or string material.
Use a Cocking Device
Even if you are physically capable of manually cocking a crossbow, there is no reason to do so if the manufacturer provides a rope cocker or crank. A cocking device reduces the required force and helps center the string perfectly. Manually cocking a crossbow can easily result in pulling the string slightly farther to one side, introducing accuracy problems, or uneven stress on the bow which could lead to premature failure down the road.
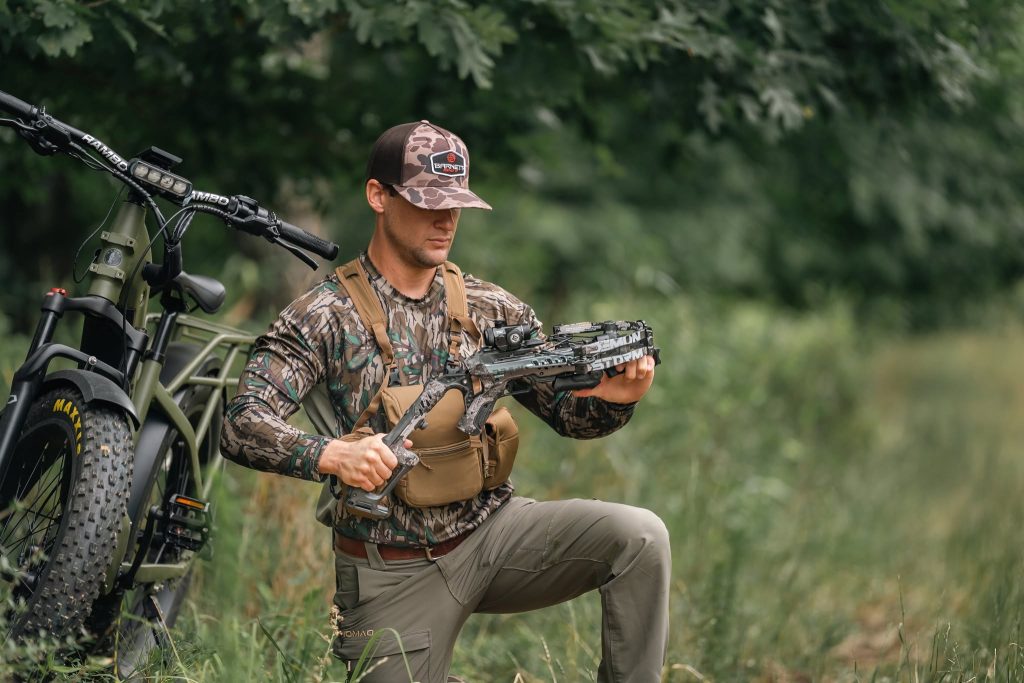
Once the bow is cocked, be deliberate about loading it correctly and ensuring the bolt is firmly seated against the string. Over the years, improperly seated bolts have been one of the most common issues I’ve seen around hunting camps and archery shops. Make sure you fully understand how your specific safety and anti-dry-fire systems function before taking the bow into the field. An improperly seated bolt can lead to a dry fire, which can lead to catastrophic string, cable, or limb failure.
Keep Your Hands Below the Flight Deck
When learning how to set up a crossbow, safe hand placement needs to become automatic. The basic rules of firearm safety translate well to crossbows. Keep your finger away from the trigger until you are ready to shoot, never point the bow toward something you are unwilling to destroy, and always know what is beyond your target.
Crossbows also have a major safety consideration that rifles do not: the path of the string and cables. Keep your fingers and thumb well below the flight deck and completely clear of any area the string travels through during the shot. Most modern crossbows feature finger guards, foregrips, or other safety features designed specifically to protect your support hand, so make full use of them.
This becomes even more important in hunting situations. While shooters maintain a controlled grip on the range, field conditions can cause hunters to grab the crossbow awkwardly while leaning around a tree or adjusting for a quick shot. Make a safe grip part of your normal setup and shooting routine so you never have to think about it when game appears.
Start Close When Sighting In
Do not begin your first sight-in session at 40 or 50 yards. Instead, start at around 10 yards—or whatever distance guarantees the bolt hits the target—to eliminate any chance of missing completely on your first shot. Using a laser bore-sighting device can help get you close enough to back up quickly, but starting close is the safest approach.
Your target also needs to be rated for the speed of your crossbow. An ordinary archery target may not safely stop a modern bow producing 450 or 500 feet per second. Targets should also specify whether they are intended for field points, broadheads, or both.
After the first shot, make deliberate scope adjustments instead of firing repeatedly and guessing. If your scope turrets are marked in MOA or another known adjustment value, measure the distance between your point of aim and point of impact and calculate approximately how many clicks you need. A ruler or tape measure makes this easier. Being deliberate with adjustments not only makes the task quicker and more pleasant, but also reduces unnecessary wear on your crossbow.

Once the crossbow is hitting properly at close range, learning how to set up a crossbow for hunting means continuing to verify it at the distances you actually plan to shoot. Move backward in roughly 10-yard increments and confirm point of impact throughout your desired hunting range. Even if your bow has automatic range-finding features, multiple reticles, or a scope that adjusts to match your bow’s velocity, those aiming points still need to be checked on your specific setup. These systems are generally accurate, but rarely perfect. If you intend to hunt at 50 yards, shoot the bow at 50 yards. If you intend to hunt at 60, verify it at 60. A crossbow can be “on” at short range and noticeably off farther out.
Modern crossbows are astonishingly accurate. At normal hunting distances, a well-set-up bow shooting from a solid rest should produce extremely tight groups. In fact, repeatedly shooting the same aiming point can become an expensive way to destroy bolts, which is why a target with multiple aiming points is useful.
When sighting in, eliminate as much shooter error as possible. A bench is ideal. Prone shooting, shooting sticks, or another stable support can also work. Trying to diagnose the accuracy of a crossbow while shooting offhand at 50 or 60 yards introduces too many variables.
If accuracy is inconsistent, have another experienced shooter try the bow. If both shooters have the same problem, start checking the setup. Loose scope bases and rails are common culprits, and scope rings can also be overtightened badly enough to damage the scope tube. In my experience, though, accuracy problems are often caused by the shooter. Improperly cocking or loading the crossbow, or simply inconsistent shooting fundamentals, can all create problems that look like equipment issues.
Verify Your Broadheads
In theory, a field point of a specific weight should shoot identically or at least very similarly to a broadhead of the same weight. This isn’t always the case, because the way that weight is distributed across the body of a compact field point vs a larger broadhead can affect meaningful changes in bolt balance Mechanical broadheads typically are sold with practice points, and these are a step in the right direction, but nothing shoots as much like a broadhead as a broadhead.
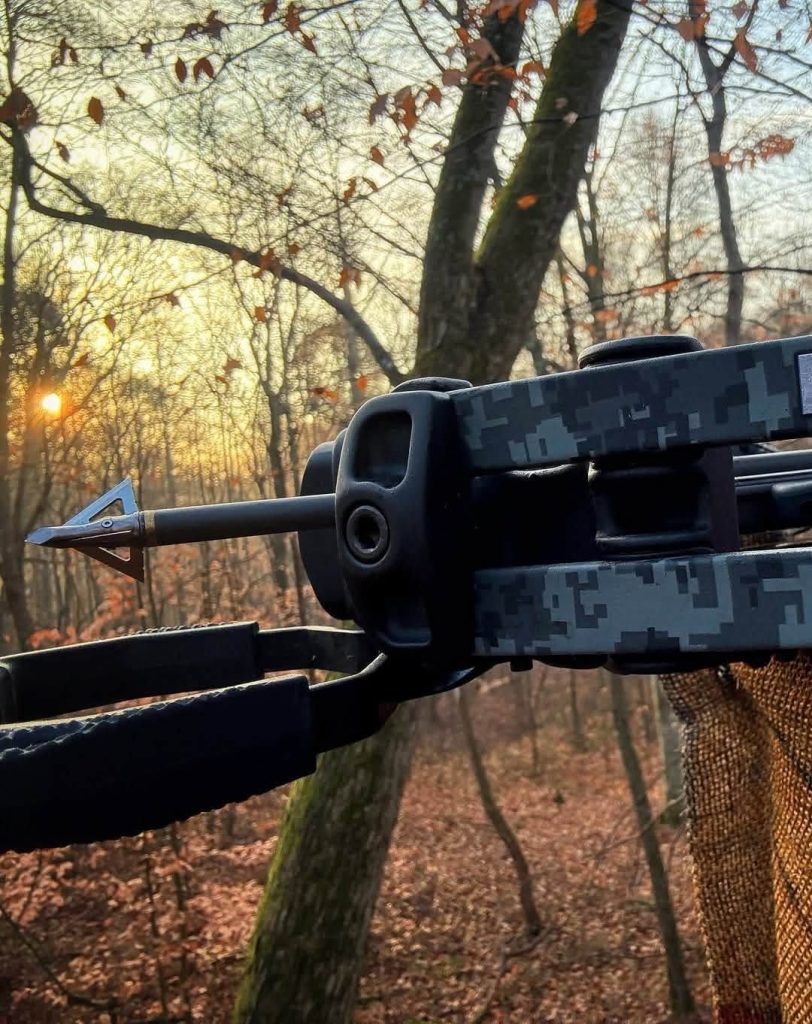
Crossbows generally offer fewer tuning options than compound bows because bolts typically arrive with permanently installed inserts and nocks. If my broadheads do not hit exactly where my field points do, I sight the crossbow in for the broadheads. Those are what matter when I am hunting. Invest in a broadhead-capable target rated for the speed of your bow, and designate a practice broadhead or three to use at the range. Yes, this is an added expense, but it’s the simplest and most reliable way to make sure that field performance matches range performance.
Once you have verified your hunting setup at your maximum range, there is no need to shoot the bow endlessly for recreation. High-performance crossbows place substantial wear on strings and cables and are not built for thousands of casual shots—simply verify it, maintain it, and hunt with it.
Accuracy Does Not Determine Hunting Range
When learning how to set up a crossbow, it is also important to understand that accuracy does not automatically determine an ethical hunting range. Modern crossbows can shoot accurately far beyond the distance at which you should ethically shoot an animal. While target shooting out to 100 yards is common, hunting shots should, in the writer’s opinion, generally stay inside roughly 40 to 50 yards because a crossbow bolt travels below the speed of sound, giving an animal time to react to the noise before the bolt arrives.
As distance increases, so does the chance for an animal to react to the shot or take a step after you pull the trigger. Every hunter must establish their own maximum distance based on experience, field conditions, and equipment confidence, rather than treating the maximum distance at which the bow can hit a target as an acceptable hunting range. If you’re a new hunter, it is best to keep your hunting ranges conservative.
Keep Checking the Bow
Once you know how to set up a crossbow properly, keeping that setup consistent is just as important. A properly assembled crossbow should not require constant tinkering, but it should be checked after anything that could disturb the setup. If it gets dropped, takes a hard hit, travels on an airplane, or spends hours bouncing around on an ATV, confirm your zero afterward. Do not simply check at 20 yards if you intend to hunt at 50 or 60. A small error that is almost invisible at close range can become significant farther away.
I also like using the end of a hunt as an opportunity to check the bow. If I am discharging it anyway, I can shoot into a proper discharge target at 20 or 30 yards and confirm that it is still hitting where it should. Some modern crossbows can be safely decocked using their crank systems, which is an excellent feature. Even so, keeping a discharge bolt or suitable target available can still be useful.
Between hunts, store the bow somewhere reasonably climate controlled when possible. Avoid unnecessary extremes in heat, cold, and humidity, and continue checking strings, cables, hardware, and lubrication according to the manufacturer’s schedule. And it goes without saying that a case is a phenomenal idea.
In Closing
The biggest mistake new crossbow owners make is assuming that because a modern crossbow looks and performs like a rifle, it can be treated like one. These bows store tremendous amounts of energy in compact limb, string, and cable systems, meaning their impressive performance comes with strict maintenance and safety requirements.
Knowing how to set up a crossbow correctly is only part of the process. Read the manual, assemble the bow correctly, use the specified components, keep your hands clear of the string path, and verify your hunting setup with actual broadheads at your intended distances. Do those things, and a modern crossbow will prove to be an extraordinarily accurate and effective tool in the field.