
Marine electronics have evolved dramatically, but many anglers still find themselves frustrated when trying to use them effectively. One of the most essential and misunderstood components in a sonar system is the transducer. I recently caught up with a real expert on the topic, Chris Price. Chris, a licensed captain and scuba instructor, has worked at Blue Water Ship Stores for over 21 years installing and working on thousands of transducers and fish finders. His hands-on experience is unique: “We’d actually go mark the wrecks, then dive down and look at it, and then go back and tweak the machine to make it represent what we’re really looking at.” This method gave him a direct understanding of how transducer data should correspond to what’s physically on the bottom.
Why Transducer Placement Matters
“The transducer is designed to pick up noise. It sends an acoustic signal to the bottom, reflects off the bottom, and comes back to give you a picture,” Price explained. That signal is only accurate if the transducer has a clean, uninterrupted path through the water. Unfortunately, many installations fail because the unit is placed in an area where air bubbles or prop wash distort the sonar return.
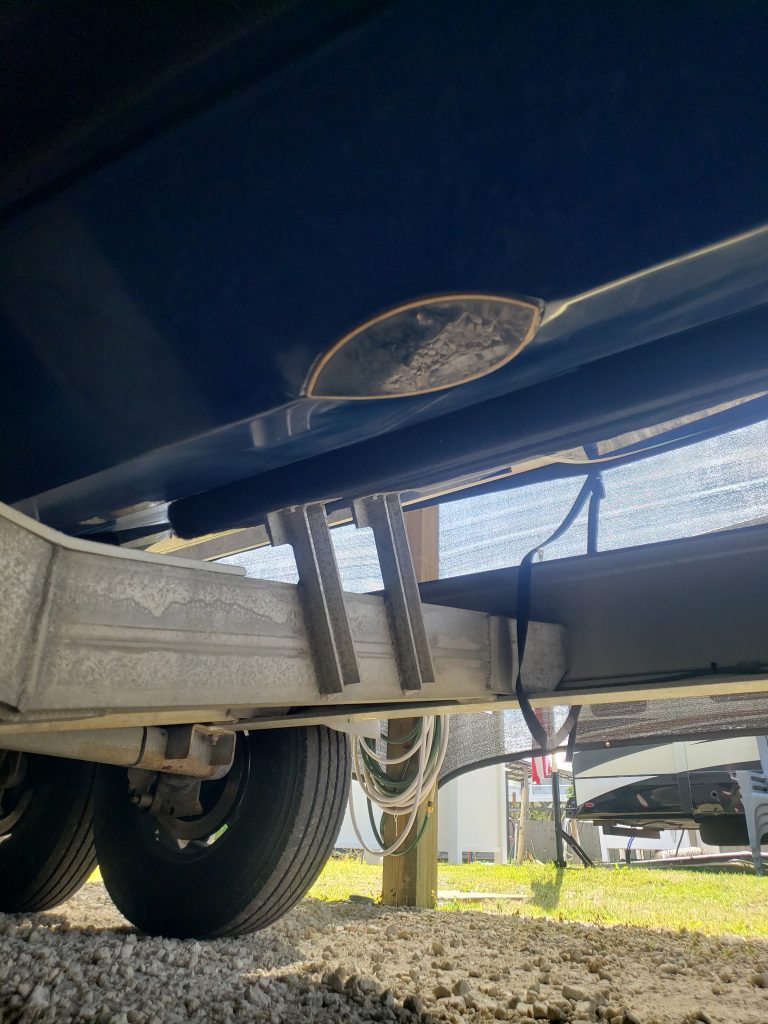
“A lot of them are mounted in the wrong location,” he said. “Air bubbles are our biggest enemy.”
Choosing Between Transom Mount and Thru-Hull Transducers
Transducer mounting style is critical to performance. Price shared that “most all outboards are going to be transom mount or in-hull, where the transducer is mounted to the fiberglass inside the hull. It shoots through the hull.” Inboard boats, however, typically require a thru-hull installation to ensure deeper, more accurate reads.
“The thru-hulls are a lot stronger. They start at 1,000 watts,” Price said. “Transom mounts are usually good to about 600 feet.”
If your sonar loses bottom readings at speed, it might not be a mounting issue alone. “We’ve done our best yet was 80 miles an hour on a boat,” Price explained. “You’re probably talking about a $3,000 install to make that transducer work at that speed.”
Understanding Sonar Frequency and Chirp Technology
Selecting the right sonar frequency is also essential. “High-frequency chirp is good up to 200 feet,” Price said. “If you get over 200 feet, you need to go to your low frequency.” Low-frequency signals penetrate deeper water but provide less detail, making them ideal for deep-dropping or offshore fishing.
Chirp sonar—which uses a range of frequencies—can offer better target separation and clarity, but it can be confusing to interpret at first. “The first year or so, I really ran chirp being brand new. We didn’t fish a couple holes that we should have fished,” Price admitted. “Now we’ve learned how to read that machine.”
Common Installation and Electrical Mistakes
Even with the best transducer, poor wiring or setup can ruin performance. Price warned against running power directly to the battery. “A lot of these machines pull power even when they’re turned off,” he said. “You want to run your power off a battery switch. That kills all electronics.”

He also emphasized using marine-grade wire. “We’ve run into voltage drops. If your machine doesn’t have enough power, it won’t drive the sounder correctly.”
Another overlooked issue: improper alignment. “Some thru-hull models have an arrow that must point toward the keel,” Price explained. “If that arrow’s off, your sonar beam could be pointing 20 degrees in the wrong direction.”
Boat Type and Transducer Considerations
For catamarans or aluminum boats, specific installation techniques are necessary. Some cat hulls include molded “pockets” for transducers to protect them and improve performance. Aluminum hulls require non-corrosive materials and careful isolation to avoid galvanic corrosion.
Hull shape also matters. “If you’ve got a sharp V hull, it’s easier to keep it working at speed,” Price said. “Rounded sterns can cause cavitation and result in losing bottom at certain speeds.”
Tuning Your Fish Finder for Maximum Performance
A common mistake anglers make is relying too heavily on automatic settings. “They really don’t work all that great on auto,” Price said. “I run mine manual in anything over 200 feet.”

Manually adjusting gain, frequency, and depth range based on water conditions and fishing goals is critical for accurate readings. “Each machine is different. You have to tune it based on salinity, algae, and what species you’re targeting.”
Choosing the Right Transducer for Your Fishing Style
When helping customers choose a transducer, Price always asks: “Are you speckled trout fishing, snapper fishing, or tuna fishing?” Each activity demands different sonar capabilities.
“I use a 600-watt when I’m pulling to rigs, a 1,000-watt when I’m easing off, and a 3,000-watt for deep tuna,” he said. If you’re targeting species like scamp, which hug the bottom, you need a narrow cone angle and high definition to separate the fish from the structure.

“You might be on the numbers and not see anything if your setup’s wrong,” Price said. “Get the right transducer for what you’re trying to do.”
Final Advice from the Expert
If your sonar screen doesn’t show fish, it doesn’t necessarily mean they’re not there. “Drop a hook. You never know what you’re going to catch,” Price advised.
Modern marine electronics are powerful tools, but only when used correctly. With the right installation, frequency, and tuning, you can unlock new levels of fishing precision and performance.
Need Help with Your Transducer Setup?
For custom recommendations or installation help, contact Chris Price at Blue Water Ship Stores in Foley, Alabama. Call 251-943-4179 to schedule a consultation.
